360 Content & WebVR
360 Content/Blender Mesh
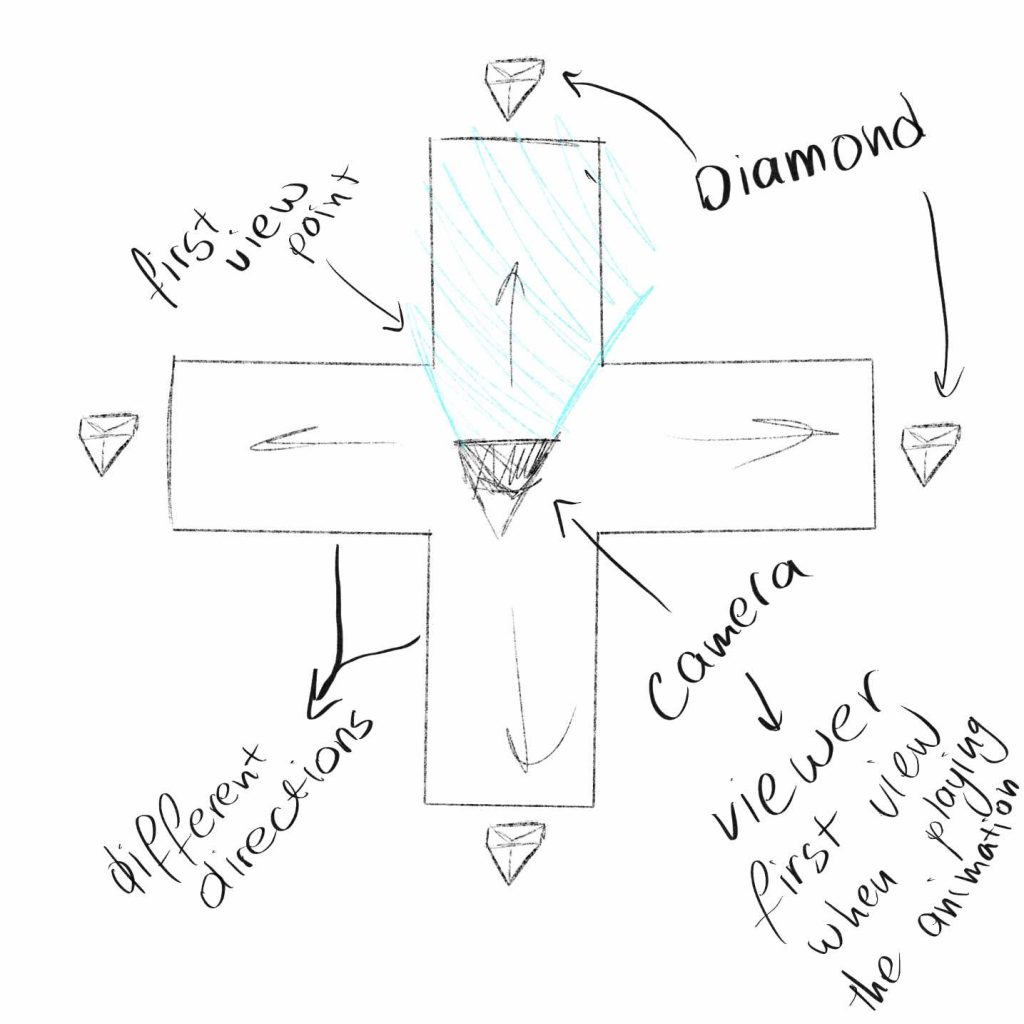
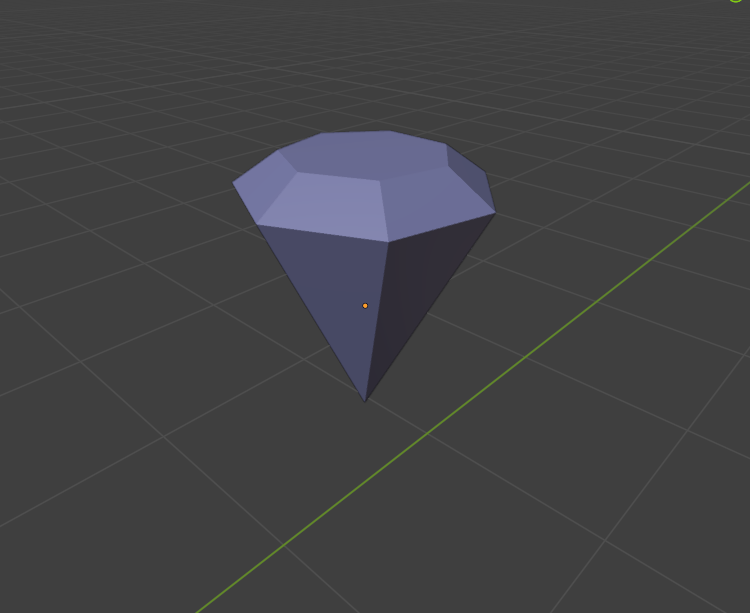
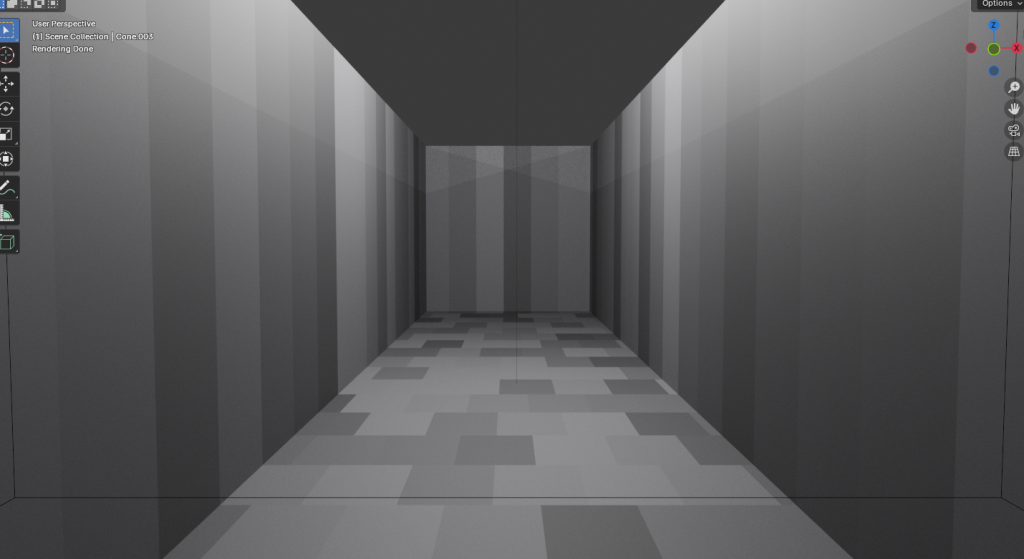
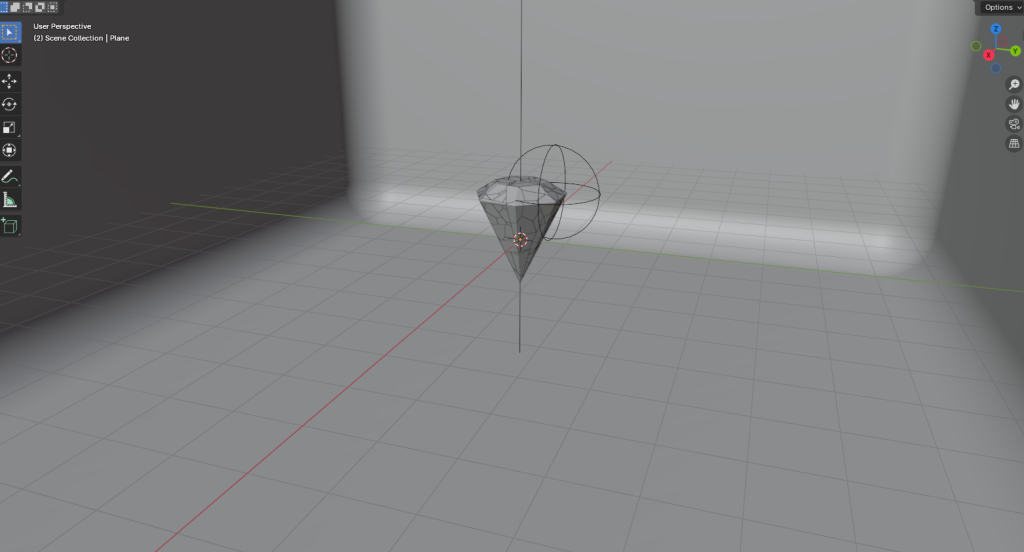
For the 360 render I used Blender due to being more familiar with it and feeling more comfortable to model a scene around the camera. When thinking about the kind of scene I wanted to create, I wanted to focus on bringing the viewer attention to an object that would guide them in different directions. For that I created a hallway like model with four long forward paths, this way the viewer only has so much space to turn around in which also helps with making sure for someone that gets motion sick, using walls to guide them to stay in place. For the object the final decision was a simple diamond shape, not wanting to go too complex since the object would move quickly away from the viewer and they would not have time to look at any details, a simple diamond will be easy and fast to see and not overwhelm or get the viewers motion sick.
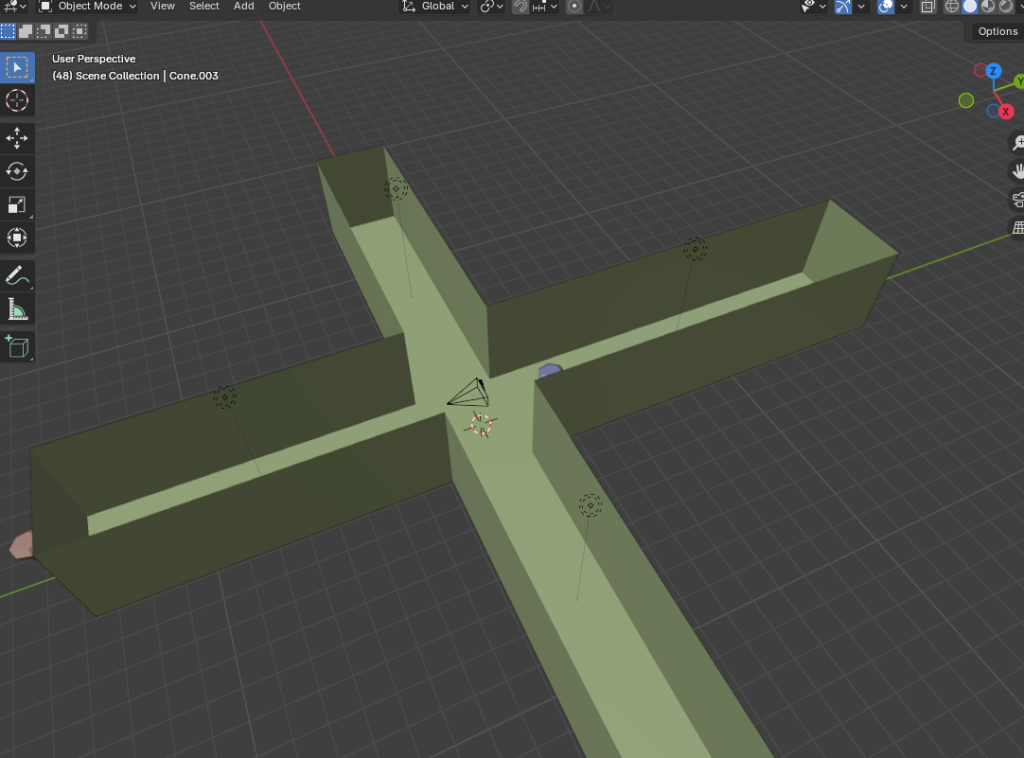
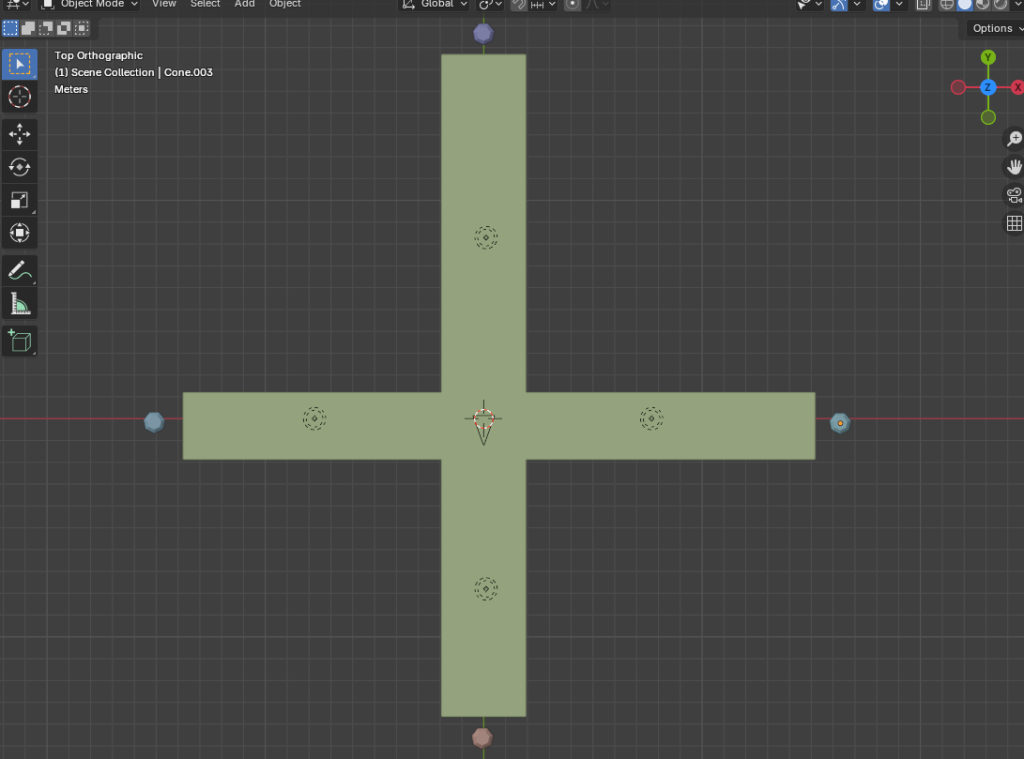
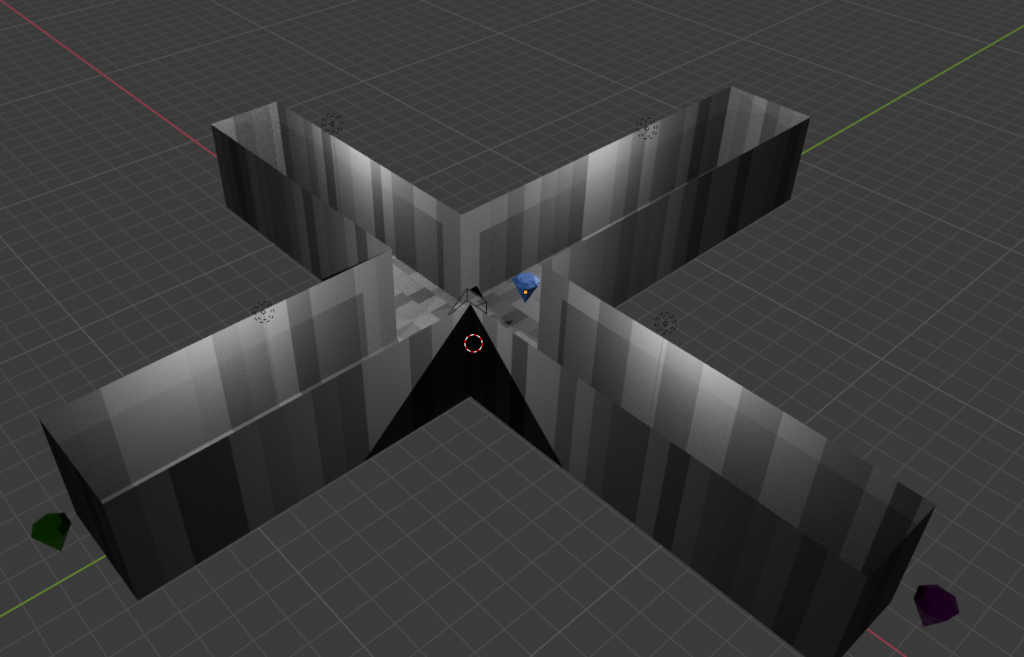
(Screenshots of the model made for the 360, before the lighting and textures.)
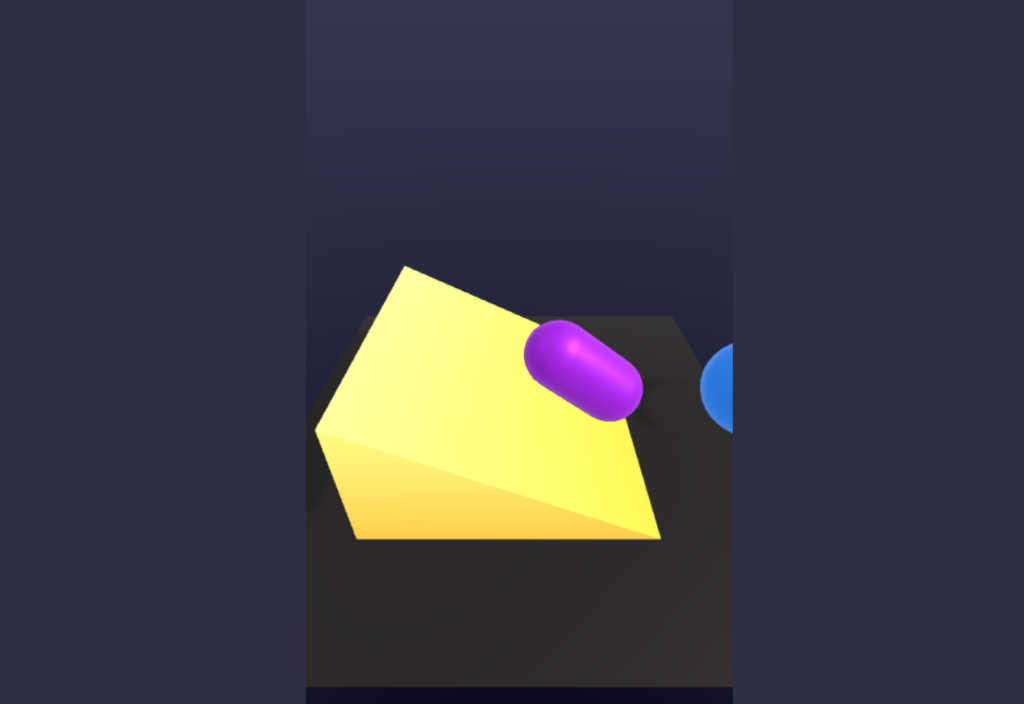
The final 360 idea is for the diamond to come from the wall, making sure the camera view is facing that wall so that the viewers get guided from the start to prevent confusion and immediate disinterest if nothing was to happen.
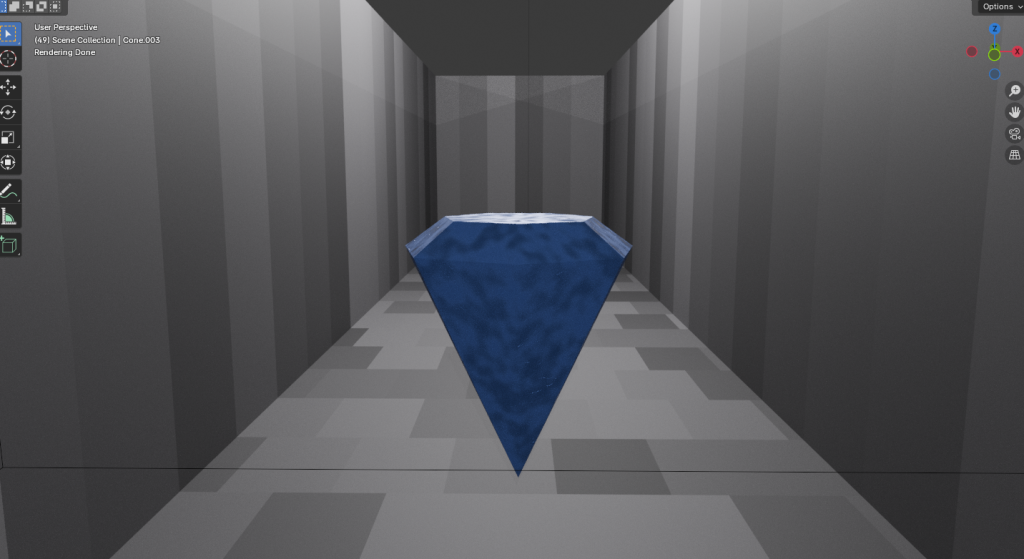
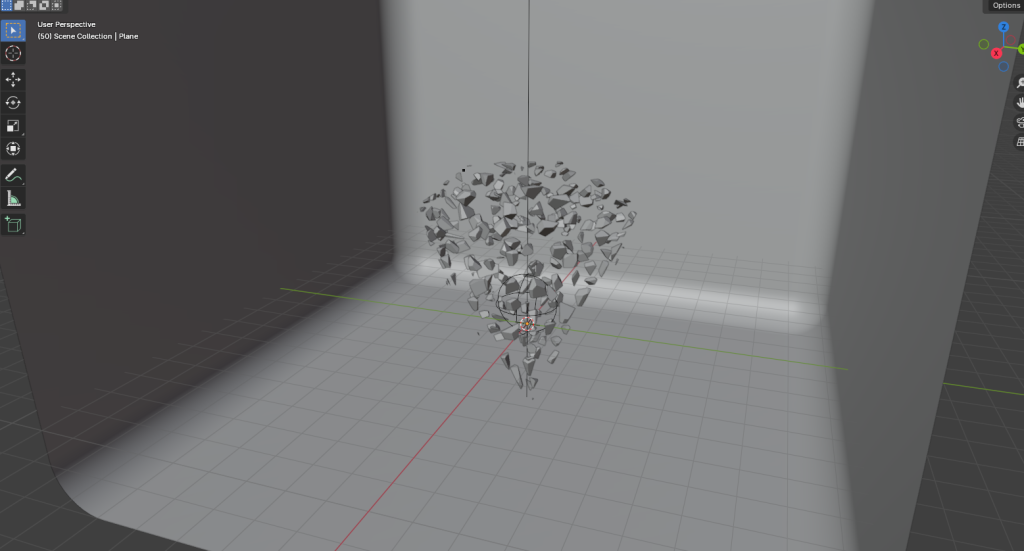
(Screenshots of the final 360 after texture and lighting has been added to the walls and diamond.)
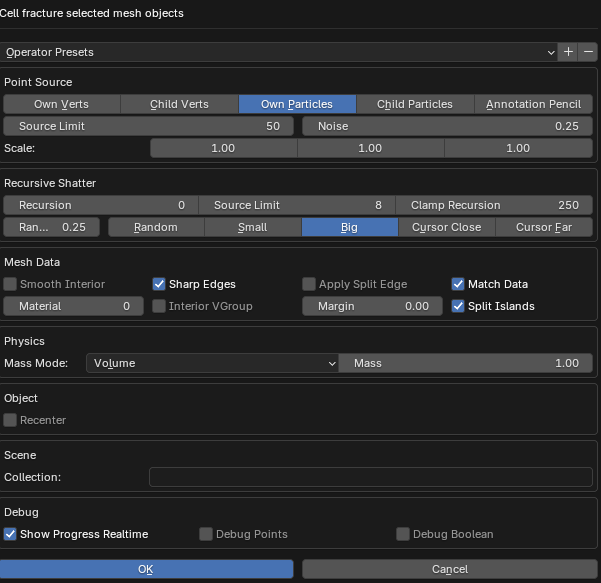
Furthermore, to continue to explore different Blender mesh and possibilities I also created a shattering animation, using the shattering tutorial, with the add-on cell fracture to make the object shatter, I wanted to explore different ideas by experimenting with the settings in the cell fracture, making the pieces the object separates into bigger, smaller, medium to see how different the final animation would look with different settings than the tutorial. After some experimentation these are the final settings that were used for the final animation:
For the object itself once again it was a diamond, due to the fact it seems fitting for a diamond to shatter into pieces. It’s also a simple shape that doesn’t take long to model and render which allows me to focus on experimenting with the cell fracture part of animation.
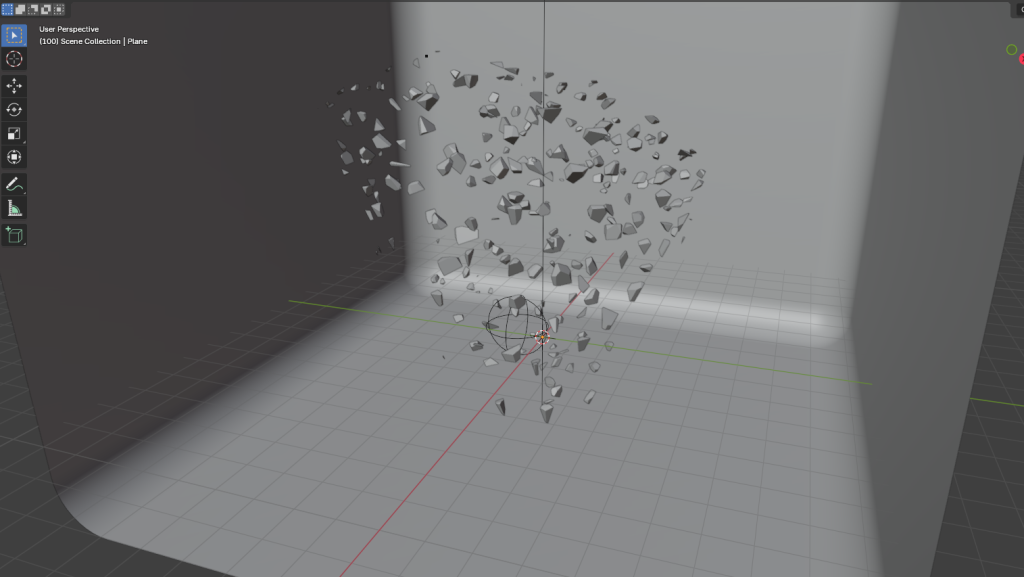
(Screenshots of the object at the start 0 frames, the middle 50 frames and end 100 frames.)
FrameVR
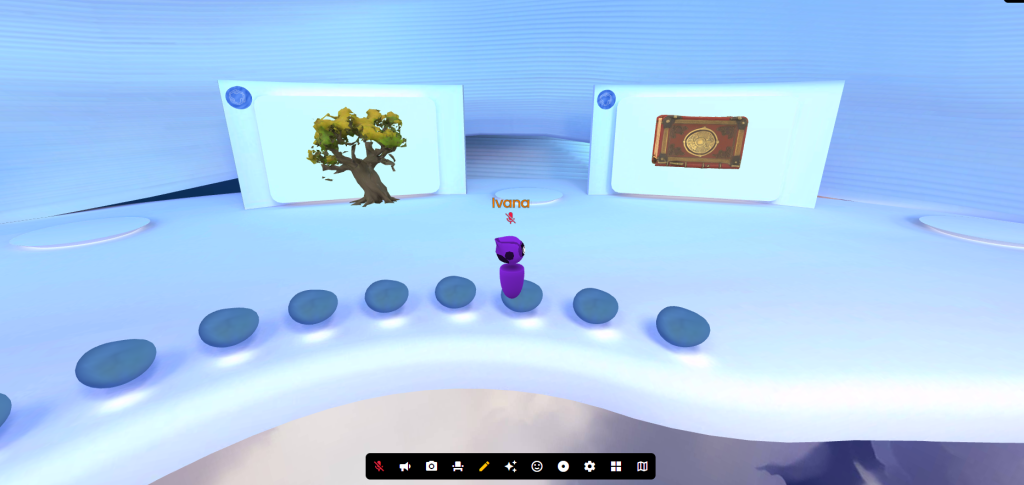
With this being the first time to ever go into FrameVR, the first idea that came to mind was to import my own blender models into a gallery to showcase progress and skills. However, due to the issue of the models coming into FrameVR looking rough, unfinished and not as intended to, that idea had to be adjusted. Due to FrameVR being a new concept, I wanted to explore the way imported models would look even if they weren’t my own. For this the feature that was used was the AI model generator, using fantasy prompts (fantasy due to the nature of my future proposal) to see what actually finished models would look like when displayed in a vision gallery like FrameVR, and also to see how the edit of these models would work, the moving, rotating and resizing of a model was easy to understand due to way being similar to blender.
Augmented Reality & UX
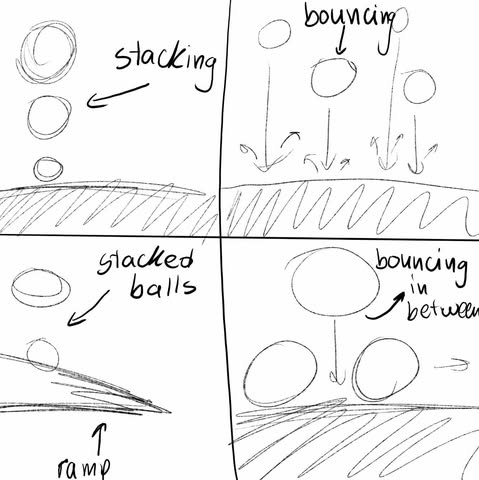
With this being the first time to ever use 8th wall I wanted like in blender 360, to create something simple and straightforward to allow myself to get used to the controls and methods of the program. The experience I wanted to create was smooth and easy on the eyes for the viewers, with AR being new concept to learn and understand. The layout when going into 8th wall was very similar to blender which gave me an idea of what kind of shapes and objects can be created within the project. With that in mind I sketched out some ideas with simple shapes like cubes and spheres.
Following the first tutorial for 8th wall I created a sphere; this is where the psychics component gave me an idea for a future project which will be talked about later. Following the tutorial, there isn’t a viewer interactivity aspect to this project, with the final object falling and bouncing off the plane, there isn’t any interaction that the viewers can do to change the oucome of the final project.
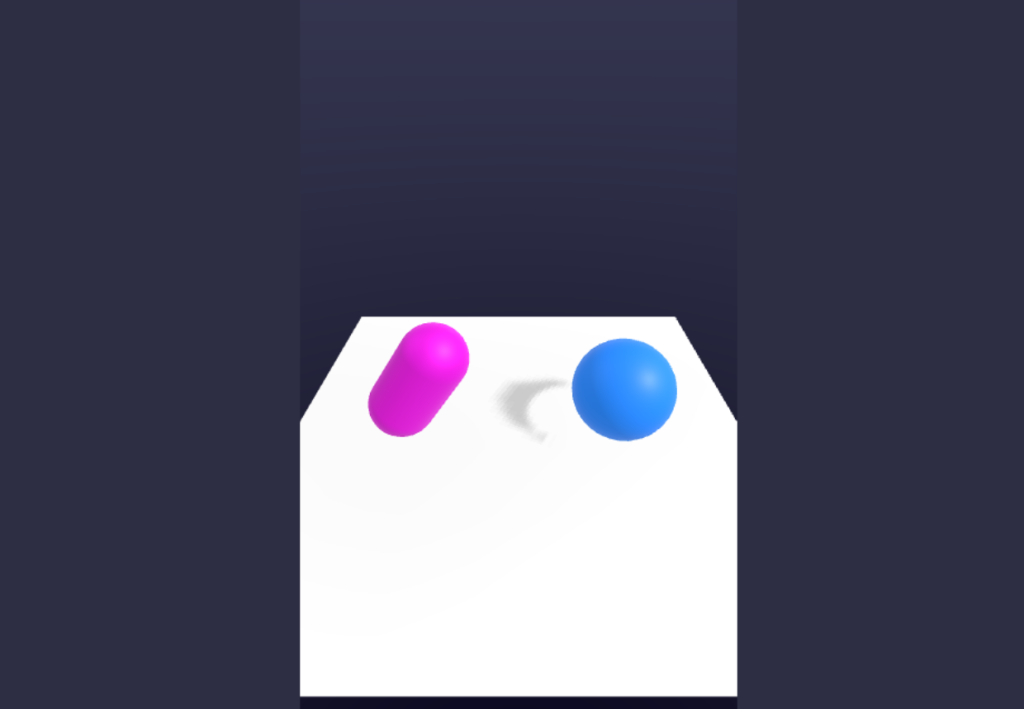
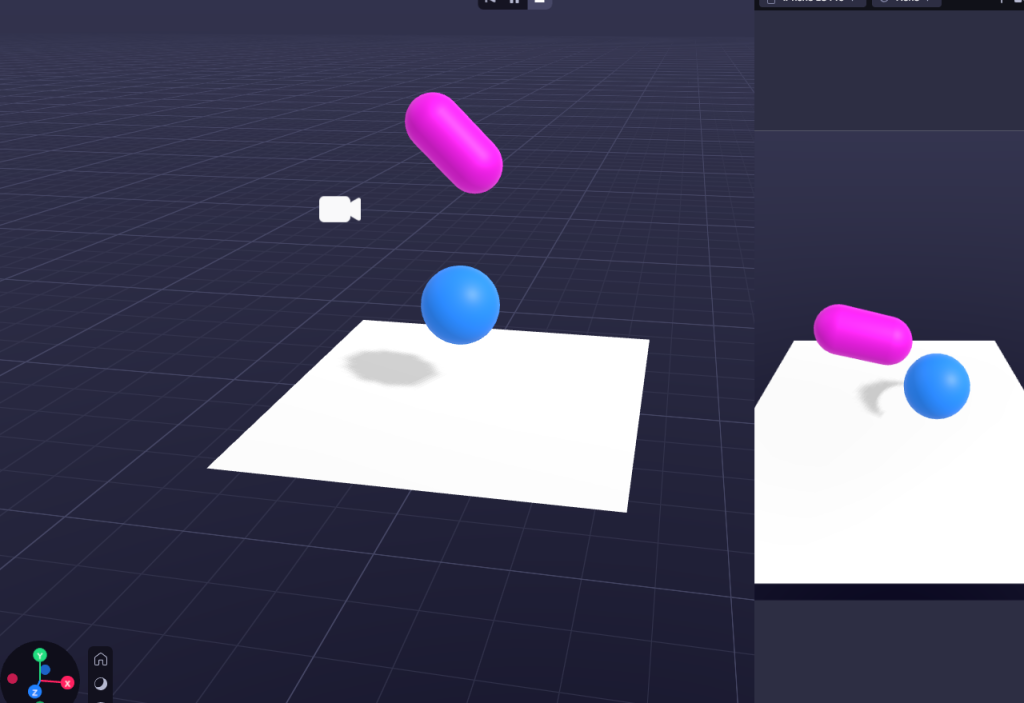
(Screenshots of the progress from following the first tutorial.)
After trying to import an image and being unable to due to dimensional issues, I had to change my plan around to instead focus on objects inside the 8th wall rather than using real life images to further expand my project. Remembering the bouncing settings from the earlier tutorial I had an idea to create different sizes of spheres with a plane underneath them to add a stopping point also known as the collision factor. After which implying the psychics collide component to use different bouncing settings tot the different spheres and playing the project to see what the outcome would be without using still images to combine real life with AR.
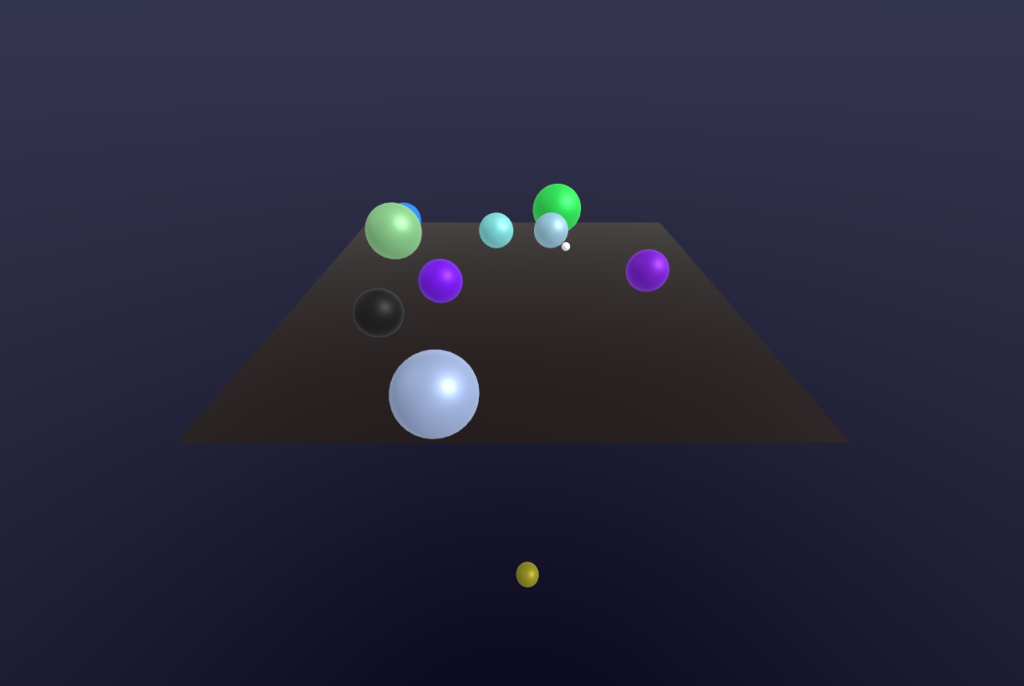
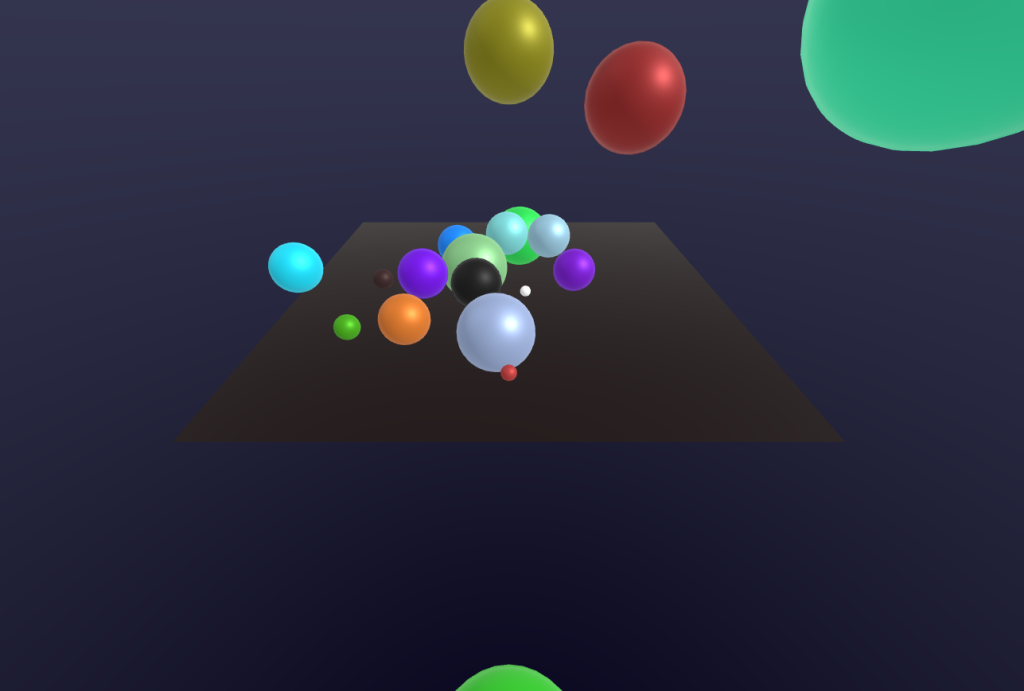
(Screenshots of different aspects from the different bouncing dimensions.)
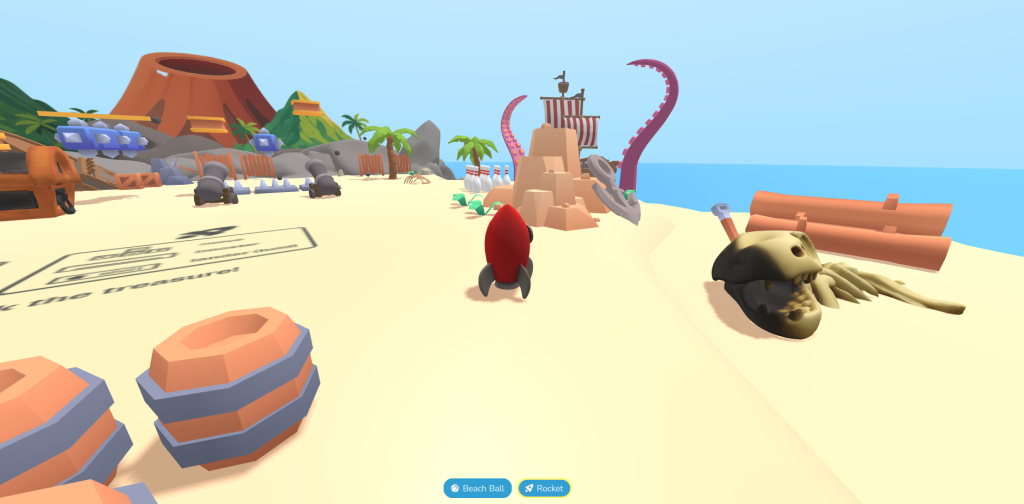
Looking at ‘sample projects’ that people have made in 8th wall was very inspiring to see what is possible with AR and how different approaches can be taken in different games and projects. A project that showcases this very well is the sample project in 8th wall called ‘Physics Playground’ (1) which the users are a ball that they control, with the map being big and having different routes that the users can take showcases how interactive and immersive AR can be.
With AR being such a user-based experience, like where users would focus or move to and follow, the UX principles must be thoroughly considered when creating such an immersive experience as to allow users the best experience possible. An example of such principle is ‘consistency’ which means the design should maintain similarity and consistency throughout the different stages of an experience to help the users get familiar and confident with the design and movement of the game/project.
VR Art & Immersive Storytelling
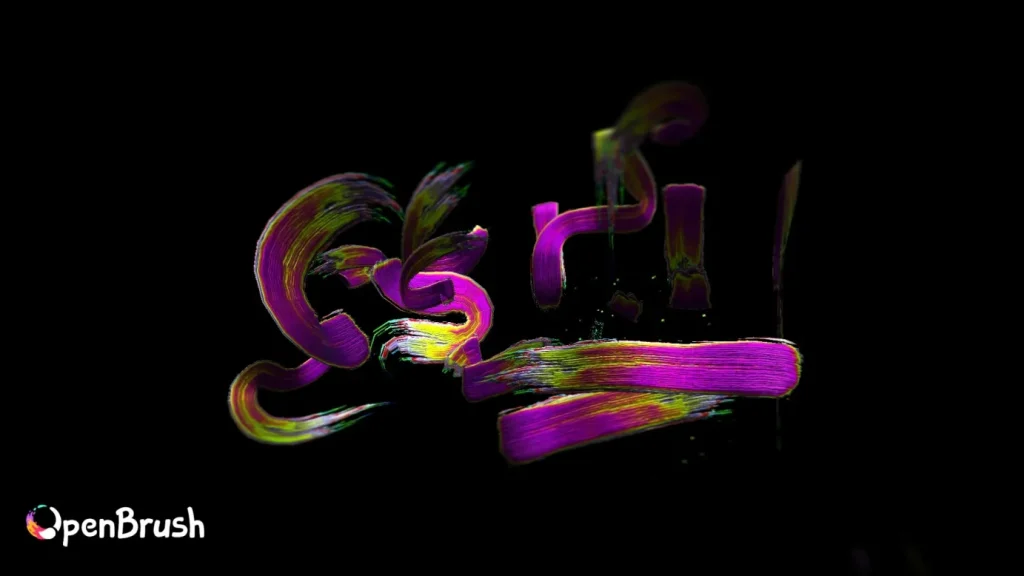
This was the first time using a VR set as well as painting in VR using open brush, when using the headset for the first time there was an initial problem of adjusting to it, but after some practice it was resolved. For creating the art in open brush there was no concrete plan or idea of what to draw since this was a new experience. The first time using open brush it was overwhelming with the feeling of not understanding your surroundings, which is why the first thing I drew in open brush was super simple with no thought behind it and it was more of experimenting with a specific brush that uses a rainbow effect rather than actually drawing.
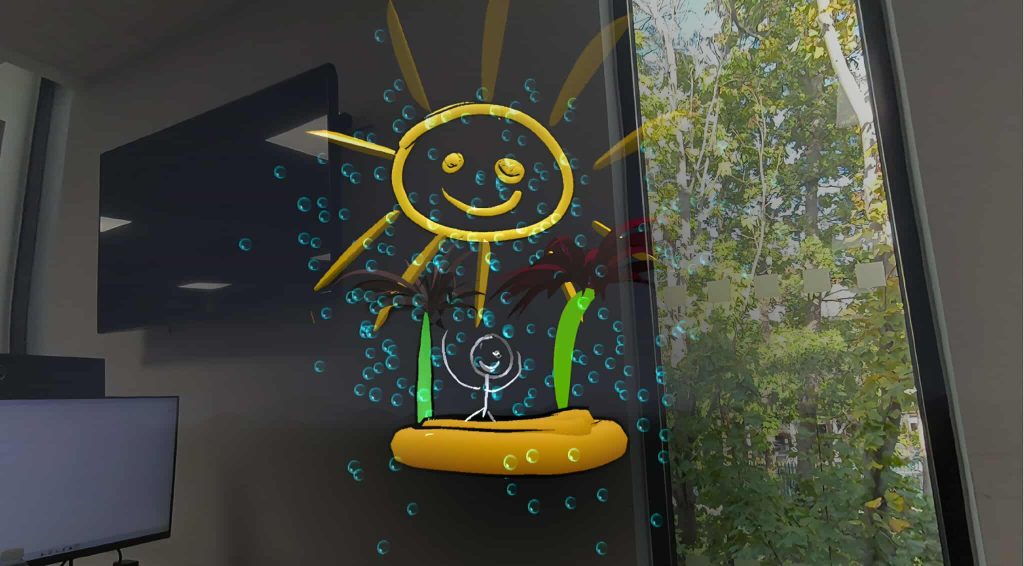
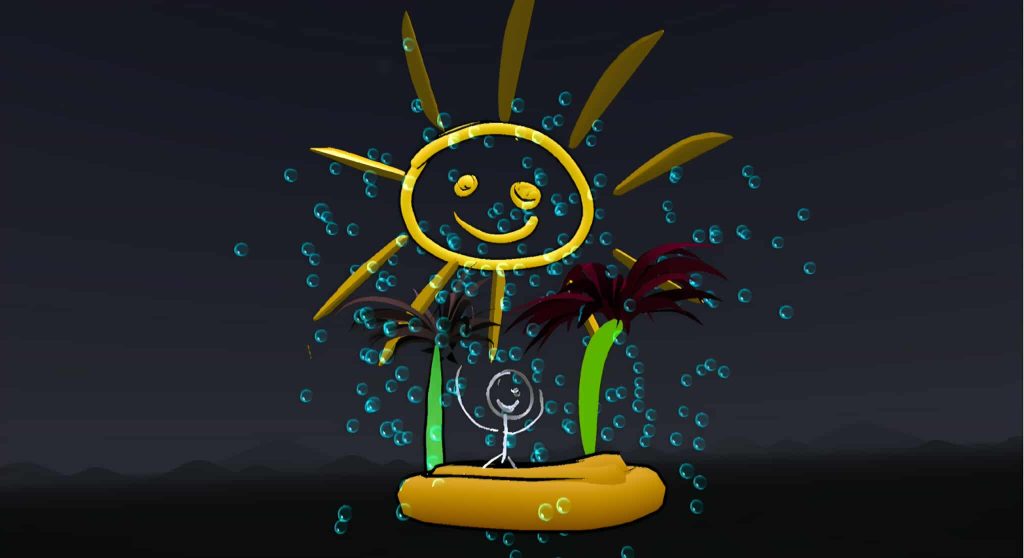
However, the second time when using he headset I made sure to adjust it to fit my glasses to help me see my surrounding inside open brush better. After using the headset for five minutes I gave drawing something a go, with open brush having so many varieties of brushes, a good chunk of time was spend experimenting with them. After getting used to the brushes I went with a simple drawing of a stick figure on a beach, using the leaves and bubbles brushes to make it look more tropical and using the icing brush to make the sun and sand to add different textures to the drawing.

When working in a 3D space for the first time it was overwhelming with so many senses going on at once, it was weird to get used to especially with not being aware of your surroundings and accidently bumping into objects. However, this has also helped me understands and r3eally think when using 360 scenes in blender in my later work, how would the viewers feel when going into my work, considering their emotions and the experience into account.
When working with open brush a difficulty I didn’t expect to run into is how hard it was to control how far or forward a stroke is, like for example, wanting the tree to be more in the background but not knowing how to move them back without it bumping into an object in the real world. This will be considered for a future immersive project where the viewer. Thinking about the placement of objects within the scene making sure to not crowd or overwhelm the viewers in the first seconds of entering a scene.
1 – Psychics Playground. 8th Wall.com. Available at: [found at:] Physics Playground | 8th Wall | 8th Wall [Accessed 02 November 2025]